Faucet Water Filter How to Install: Can You Really Do It Yourself in Under 15 Minutes?
If you’ve been searching “faucet water filter how to install,” the honest answer is that it’s one of the easiest water-quality upgrades you can make — no plumber, no shut-off valves, and usually no tools beyond your own hands (and maybe a cloth for grip). At Afinion Home we fit and test these units constantly, and the whole process comes down to one make-or-break question: does the filter’s adapter match the threads on your faucet? Get that right and you’re drinking filtered water before your coffee gets cold. Get it wrong and you’ll be staring at a leaky connection wondering what went sideways. This guide walks you through it step by step, tells you which faucets simply won’t work, and explains how to avoid the three mistakes that cause 90% of the leaks we see.
How do you install a faucet water filter step by step?
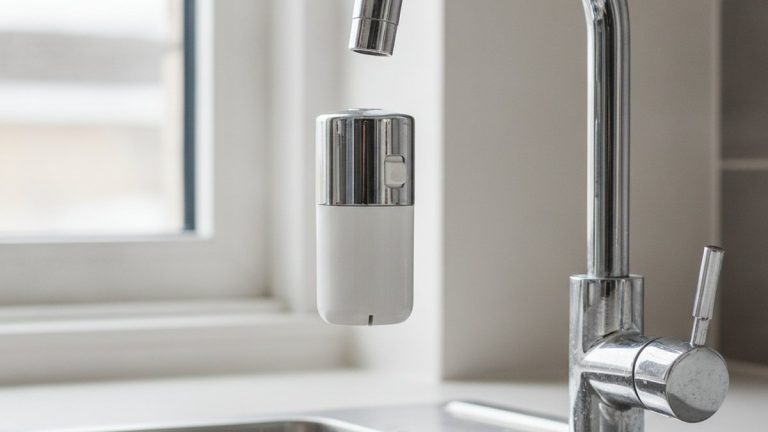
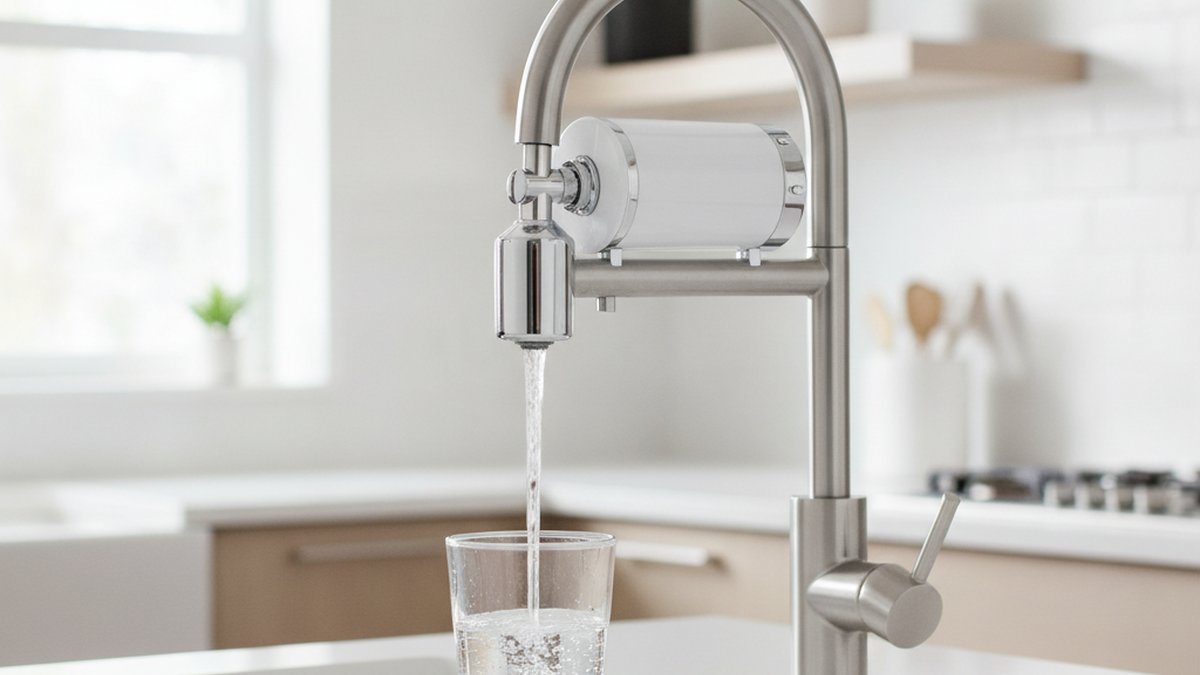
Unscrew your faucet’s aerator, pick the adapter that threads onto your spout, hand-tighten the filter housing with the rubber washer seated inside, then flush it for 5 minutes. That’s the entire job. Here’s the detailed version so nothing surprises you.
- Wipe the spout tip and check what you’re working with. Look at the very end of your faucet. Most kitchen faucets have an aerator — the small mesh screen insert — that either screws off by hand or with a coin/aerator key.
- Remove the aerator. Turn it counterclockwise (righty-tighty, lefty-loosey looking up at it). If it’s stuck from mineral buildup, wrap a rubber band or cloth around it for grip, or soak the tip in white vinegar for 10 minutes first. Keep the aerator — you’ll want it back if you ever remove the filter.
- Identify your thread type. Faucet spouts come in two flavors: male threads (threads on the outside of the spout) or female threads (threads on the inside). Your filter kit includes multiple adapters plus a couple of rubber washers to cover both.
- Attach the correct adapter. Thread the matching adapter onto the spout by hand. Snug is enough — do not force it.
- Seat the washer and attach the filter unit. Make sure a rubber washer sits flat inside the connection (this is where leaks come from). Screw the filter housing onto the adapter, hand-tight only.
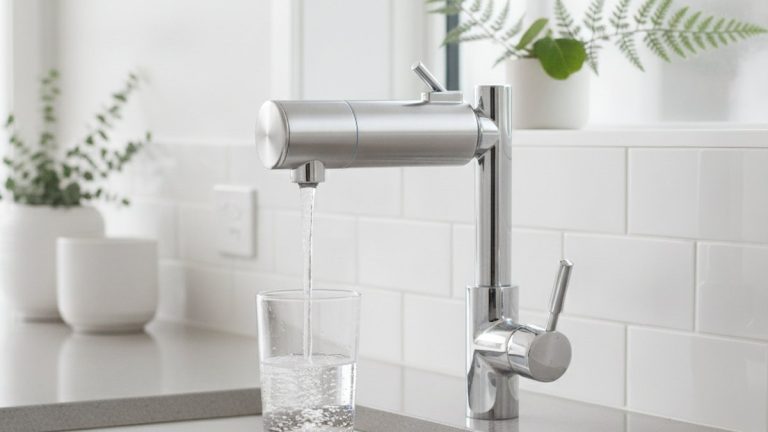
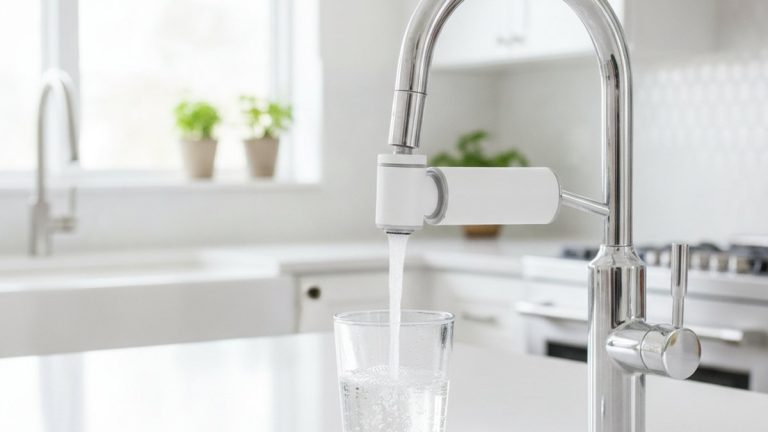
- Turn on the water and switch to filtered mode. Most units have a diverter lever so you can toggle between plain tap and filtered water — filtered flows through the cartridge, tap bypasses it to save the cartridge for drinking and cooking.
- Flush the cartridge for 5 minutes. New carbon cartridges release harmless carbon fines and may run cloudy or gray at first. Run cold water through the filtered setting for about 5 minutes (or per the manual) until it runs clear.
That’s it. If water sprays sideways or drips from the connection, you almost certainly missed the washer or cross-threaded the adapter — back it off and redo it. We cover the same aerator-removal skill in our guide on whether faucet aerators get clogged and how to spot it early, which is worth a read since a clogged aerator and a filter share the same real estate on your spout.
What tools do you need, and do you have to shut off the water?
For a standard faucet-mounted filter you need no tools and you do not need to shut off your water supply — the whole thing screws onto the exposed spout tip, not into your plumbing. That’s the key difference between a faucet-mounted filter and an under-sink system.
Here’s the short list of what actually helps:
- A cloth or rubber grip — for a stuck aerator or extra leverage without scratching the finish.
- White vinegar — only if mineral scale has cemented your old aerator in place.
- An aerator key or a coin — some recessed (cache) aerators need this; it’s often included with the faucet, not the filter.
- The adapter/washer bag from the filter box — do not throw this away before you’ve confirmed the fit.
Because there’s no shut-off, no pipe cutting, and no Teflon tape on threaded pipe joints, this is genuinely a beginner project. If you can screw a cap onto a bottle, you can install a faucet water filter. Under-sink and reverse-osmosis systems are a different, more involved story — those do require shutting off the cold-water supply line and are closer to the effort level of our full walkthrough on how to install a kitchen faucet step by step.
Will a faucet water filter fit my pull-out or pull-down sprayer?
Usually not — standard faucet-mounted filters are designed for fixed, round, threaded spouts, and they generally won’t attach to a pull-out or pull-down sprayer head. Sprayer heads are shaped for the hand and often have no external threads at all, so the filter has nothing to grab.
You’ve got three options if you have a sprayer-style kitchen faucet:
- Use a hose/inline filter that plumbs into the sprayer line rather than clamping to the spout. We break this down in whether you can put a faucet water filter on a pull-out faucet and in our explainer on what a faucet water filter hose is and whether you actually need one.
- Switch to an under-sink or countertop pitcher filter that bypasses the spout entirely.
- Confirm the thread spec before buying. Even some fixed spouts use oddball or square profiles that standard adapters won’t grip.
Before you buy anything, unscrew your aerator and look. If there are visible threads on a round spout, a faucet-mounted filter will almost certainly fit. If the tip is a detachable sprayer, plan for a hose-based solution instead.
Which type of faucet filter should you install — mounted, hose, or under-sink?
Pick a faucet-mounted filter if you want the fastest install and lowest cost; pick a hose or under-sink filter if you have a sprayer faucet or want it hidden and higher-capacity. Here’s how the three stack up on the things that actually matter.
| Filter type | Install time | Tools needed | Best for | Cartridge life (typical) |
|---|---|---|---|---|
| Faucet-mounted | 5–15 min | None (hand-tight) | Fixed round threaded spouts, renters, quick upgrade | 100–200 gallons (2–3 months) |
| Hose / inline | 15–30 min | Adjustable wrench | Pull-out & pull-down sprayers | 200–500 gallons (3–6 months) |
| Under-sink | 45–90 min | Wrench, drill (sometimes) | Whole-kitchen filtered water, hidden setup | 500–1,000+ gallons (6–12 months) |
For most people reading a “how to install” guide, the faucet-mounted unit is the sweet spot: no plumbing, reversible for renters, and cheap enough to try. The trade-off is shorter cartridge life and a visible unit on your spout. If you’re chasing near-pure water — say, for a fish tank, espresso machine, or just personal preference — read our take on whether a zero-TDS faucet water filter is worth it or overkill before you overspend on capability you don’t need.
How do you stop a faucet water filter from leaking after install?
A leaking faucet filter almost always comes down to a missing or misaligned rubber washer, a cross-threaded adapter, or over-tightening that cracks the plastic — fix those three and the drip stops. Leaks are the number-one complaint we hear, and they’re almost never the product’s fault.
Work through these in order:
- Check the washer first. Unscrew the unit and confirm a rubber washer is seated flat and centered in the connection. No washer = guaranteed leak.
- Look for cross-threading. If the adapter went on crooked, the threads won’t seal. Back it all the way off and restart, turning it gently by hand until it catches straight.
- Don’t over-tighten. These are plastic threads. Hand-tight plus a tiny nudge is the target — a wrench will crack the housing and make the leak permanent.
- Confirm you picked the right adapter. Using a male-thread adapter on a female-thread spout (or vice versa) means it’s just resting there, not sealing. Swap it.
- Descale the spout. Heavy mineral buildup on the threads keeps the washer from seating. If your area has hard water, clean the threads first — our guide on cleaning hard water stains from a faucet shows the vinegar method that works.
Hard water deserves a special mention: if your tap runs mineral-heavy, scale will shorten your cartridge life and clog the aerator threads faster. That’s the same buildup problem behind a slow-flowing tap, which we troubleshoot in our piece on whether a faucet water filter is worth it and which one to buy for hard-water regions.
How often do you replace the cartridge, and how do you know it’s time?
Replace the cartridge every 2–3 months for a typical faucet-mounted filter, or sooner if flow drops noticeably or the water starts tasting like plain tap again. Most units are rated in gallons (commonly 100–200), and many have an indicator light or sticker to track it.
Three real-world signs it’s time, in the order you’ll notice them:
- Flow slows down. A clogging carbon block chokes flow — this is usually the first tell.
- Taste and smell return. If chlorine taste or odor comes back on the filtered setting, the carbon is spent.
- You hit the gallon/time rating. Even if it seems fine, an exhausted cartridge stops removing contaminants and can harbor bacteria. Don’t push past the rating to save a few dollars.
Replacing the cartridge is even easier than the first install: twist off the old one, twist on the new, flush for 5 minutes. No adapters to re-fit. Buy cartridges from the same brand as your housing — third-party “compatible” cartridges often seat poorly and leak, undoing all your careful install work.
A quick word on quality, testing, and warranty
Before you trust any faucet water filter with your family’s drinking water, look for two things: an NSF/ANSI certification (Standard 42 for chlorine/taste, Standard 53 for lead and health contaminants) and a lead-free wetted-materials rating. A filter is only as trustworthy as its testing. At Afinion Home we specify lead-free, NSF-referenced components across our fixtures and filtration accessories, and we back our hardware with a written warranty because a water product you can’t stand behind isn’t one you should sell. If you care about lead-free construction across your whole setup — not just the filter — our roundup of the best lead-free faucet brands to buy in 2026 is a good companion read.
One practical tip: certification numbers are printed on the box and the cartridge sleeve. If a filter lists impressive contaminant-removal claims but shows no NSF/ANSI standard number, treat those claims as marketing, not data.
FAQ
Do I need a plumber to install a faucet water filter?
No. A faucet-mounted water filter attaches to the exposed spout tip by hand — no shut-off valve, no pipe work, no tools required. Only under-sink and reverse-osmosis systems benefit from professional install, and even those are DIY-able for a confident homeowner.
How long does it take to install a faucet water filter?
Typically 5 to 15 minutes for a faucet-mounted unit, including the 5-minute flush of the new cartridge. Most of that time is just finding the right adapter and running the initial flush; the actual attachment takes under a minute.
Why is my new faucet water filter leaking?
Nine times out of ten it’s a missing or misaligned rubber washer, a cross-threaded adapter, or over-tightening that cracked the plastic housing. Unscrew it, seat the washer flat, thread the adapter on straight and hand-tight, and the leak stops.
Can I still get unfiltered water for washing dishes?
Yes. Almost all faucet-mounted filters have a diverter lever that toggles between filtered water (through the cartridge) and regular tap water (bypassing it). Use tap mode for dishes and filtered mode for drinking and cooking — this stretches your cartridge life considerably.
Will a faucet water filter reduce my water pressure?
Slightly, yes — water flows a bit slower through a carbon cartridge than through an open spout, and it slows further as the cartridge nears the end of its life. A noticeable drop in flow is usually your cue that the cartridge is clogged and due for replacement, not a sign the filter is faulty.
What if my faucet has no threads or a sprayer head?
Standard faucet-mounted filters won’t attach to threadless or pull-out sprayer spouts. In that case use a hose/inline filter that connects to the sprayer line, or switch to an under-sink or countertop system. Always unscrew your aerator and check for external threads before buying a mounted filter.
Author note: This guide was written and fact-checked by the Afinion Home fixtures team, who fit, pressure-test, and troubleshoot faucets and filtration units daily. Afinion Home (afinionhome.com) specializes in kitchen and bathroom fixtures built with lead-free, NSF-referenced materials and backed by a written warranty. Recommendations here reflect hands-on testing, not manufacturer marketing.